Yoga Wheel Pose Guide: 7 Easy Exercises for Beginners

7 Easy Yoga Wheel Exercises for Beginners
As far as new yoga props go, the yoga wheel is definitely getting the most attention. Well-known yogis are bending over backwards, filling our instagram feeds with promotional photos, and as always, they make using props, like the yoga wheel, look effortless and graceful.
If you have a yoga wheel of your own, it probably came with a simple instructions guide, but after a lot of not-so-zen wobbling, you’ve realized using it is not as easy as it seems. Your once relaxing practice has suddenly turned into a frustrating balancing act.
Here we’ve put together here a short guide of tips and tricks to help you with your yoga wheel as a beginner.
Below are our 7 easy exercises beginners can do using the yoga wheel to safely stretch, strengthen, and tone your body!
1) Open Shoulders Extended
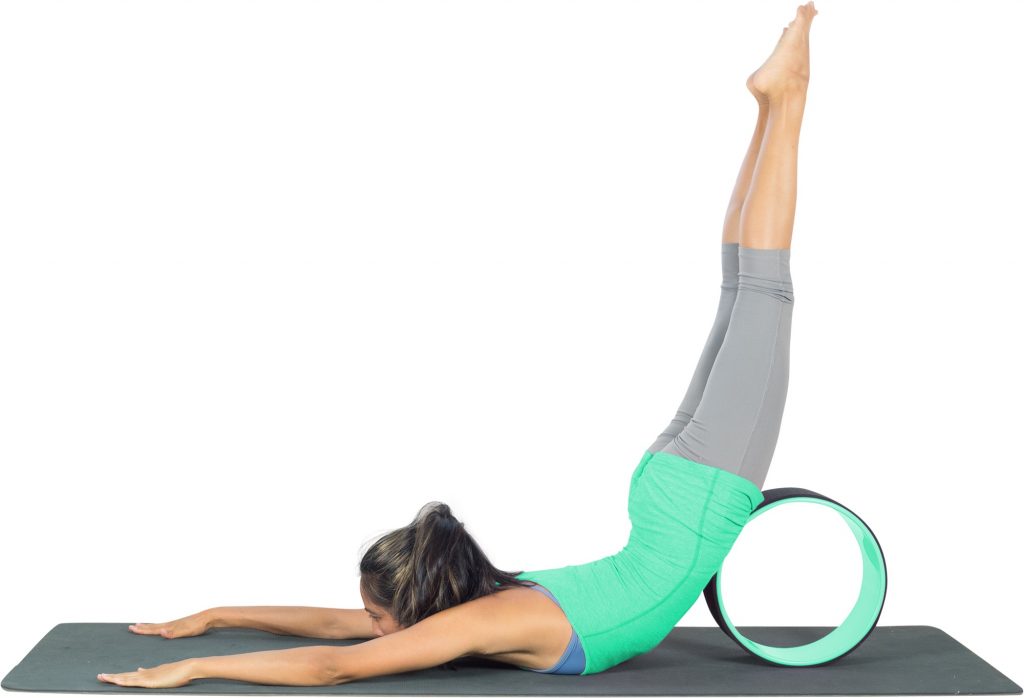 This is a great beginners stretch and useful for really getting into the back and shoulders.
Many of us spend a lot of time closing our chests and rounding our shoulders. Imagine how your body looks when your driving, sitting at your computer, eating or using your smartphone.
These daily tasks take up so much of our time and attention that we don’t realize the the length of time that goes by when we are in these postures. This pose is great for undoing all that built up shoulder and back tension we get throughout our days. This pose will help improve your posture, increase your back flexibility and improve the range of motion in your shoulder joints.
* Be extra mindful when doing work with this area of the body and stop if you feel any unusual discomfort in your lower spine/back.
The Steps
- To get into this posture, lay over the wheel and carefully slide your torso forward so it comes to rest on the floor.
- Extend the arms out in front of you, pushing the hands firmly into the floor.
- Slowly bring your legs upwards while making sure the wheel is firmly holding in place under your abdomen.
- Try to relax the shoulders and allow the upper and mid back to open.
- Breathe in and out, and hold this position for 10 breaths.
2) Build Core Strength
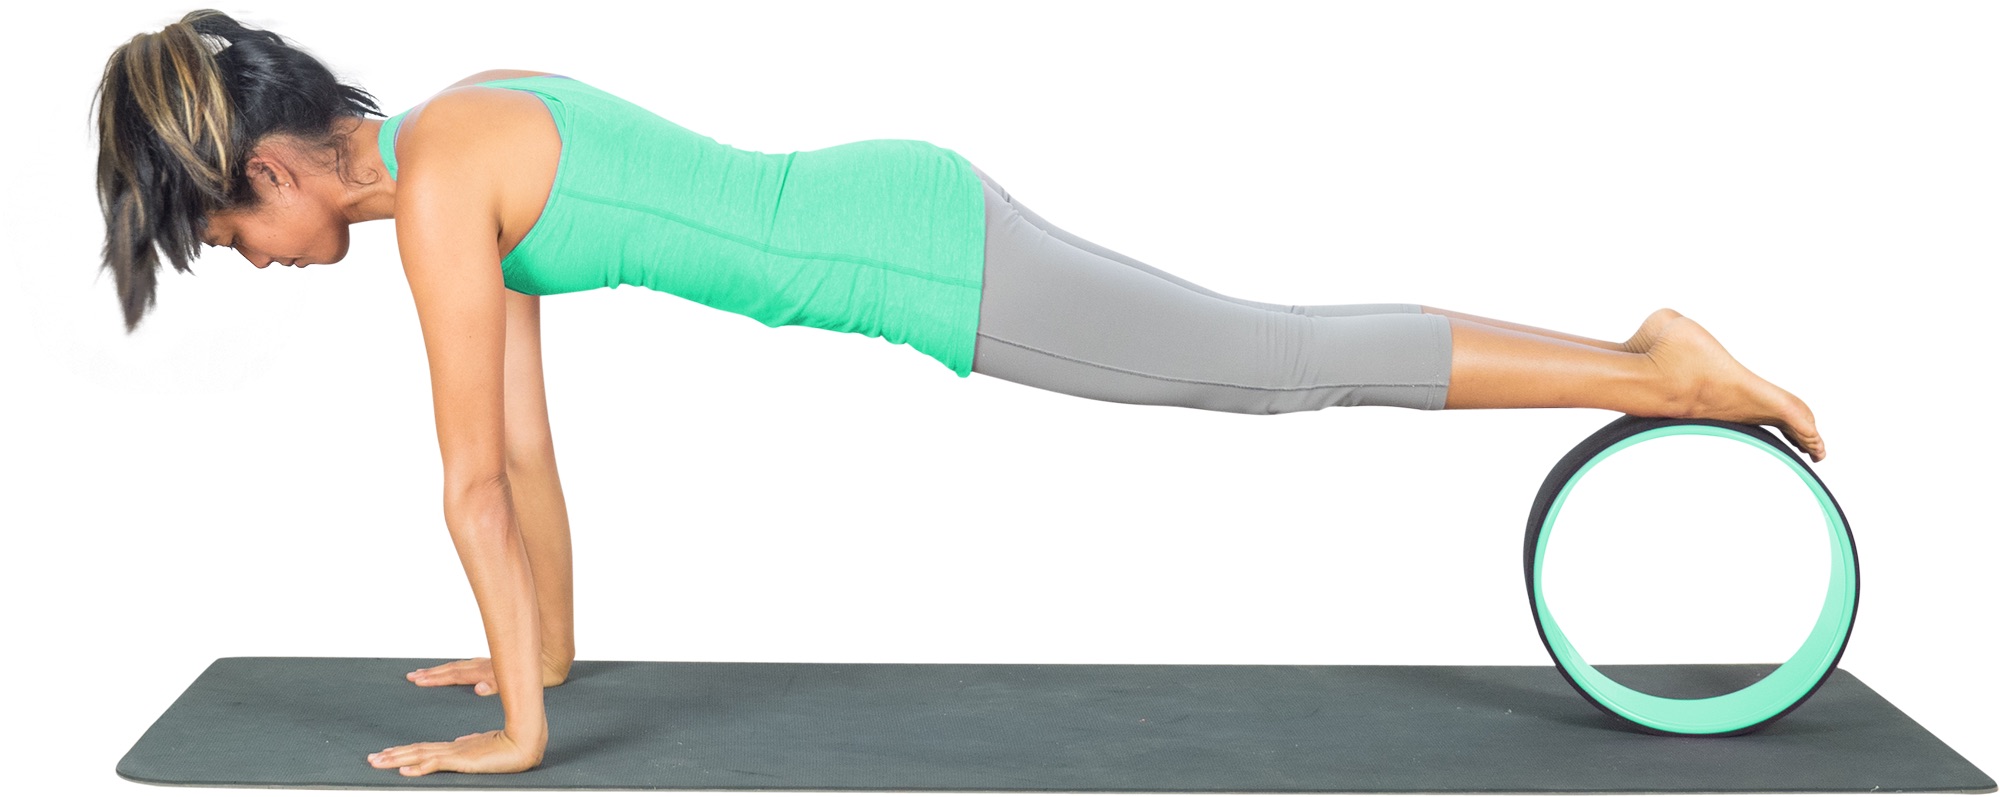
Here is another beginner’s pose that focuses on strength building but also some stretching.
A strong core is vital for a strong yoga practice. As with the previous pose, routinely strengthening your core will help relieve back pain and give your body the balance it needs to do more advanced yoga forms and poses. With help from your yoga wheel, you’ll intensify the “planking” pose, giving you a stronger core workout.
The Steps
- Start by kneeling on the ground with your yoga wheel behind you.
- Next make your way into a plank position lifting one foot at a time to rest on the wheel. You may put one foot on top of the other if it is more comfortable.
- Once in the pose engage your core and legs to hold the wheel and your body in place. Maintain a straight back while in this pose.
- If you want to make the workout more challenging, you can try some mountain climbers by lifting off one foot and bringing the knee in towards the chest, placing it back on the wheel then repeating on the other side. Be careful not to lose your balance while doing these exercises.
- Hold this position for 30 seconds and then repeat it a few times at a pace you’re comfortable with for an extreme core workout.
Intermediate Stretches
3) Chest, Back & Spine Extension
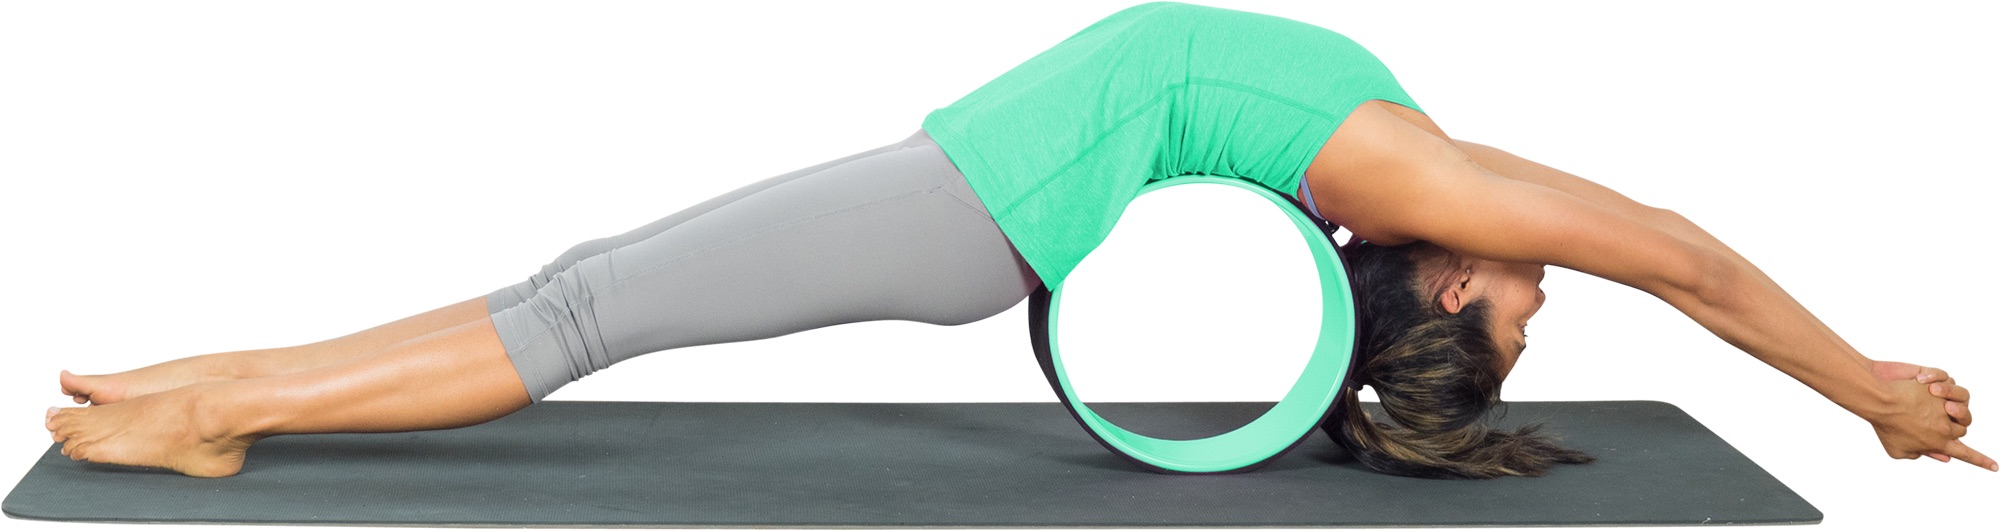
The Chest, Back & Spine Extension stretch is an amazing beginner stretch that should only be attempted if you have a healthy back and shoulders.
This pose is perfect for warming up your back before moving on to more intense backbends. Backbends are heart opening poses and using your wheel as support provides a safe way to improve your backbends and stretch out your back.
The Steps
- Start by sitting with your feet flat on the floor and the wheel behind you.
- Carefully lean back over the wheel, taking you arms up and over your head.
- Once the wheel is positioned comfortably under your spine, straighten your legs and point your toes out, while keeping your feet flat on the ground.
- Hold this pose for 30 seconds or until you feel you’ve achieved a good back stretch
4) Assisted Plow
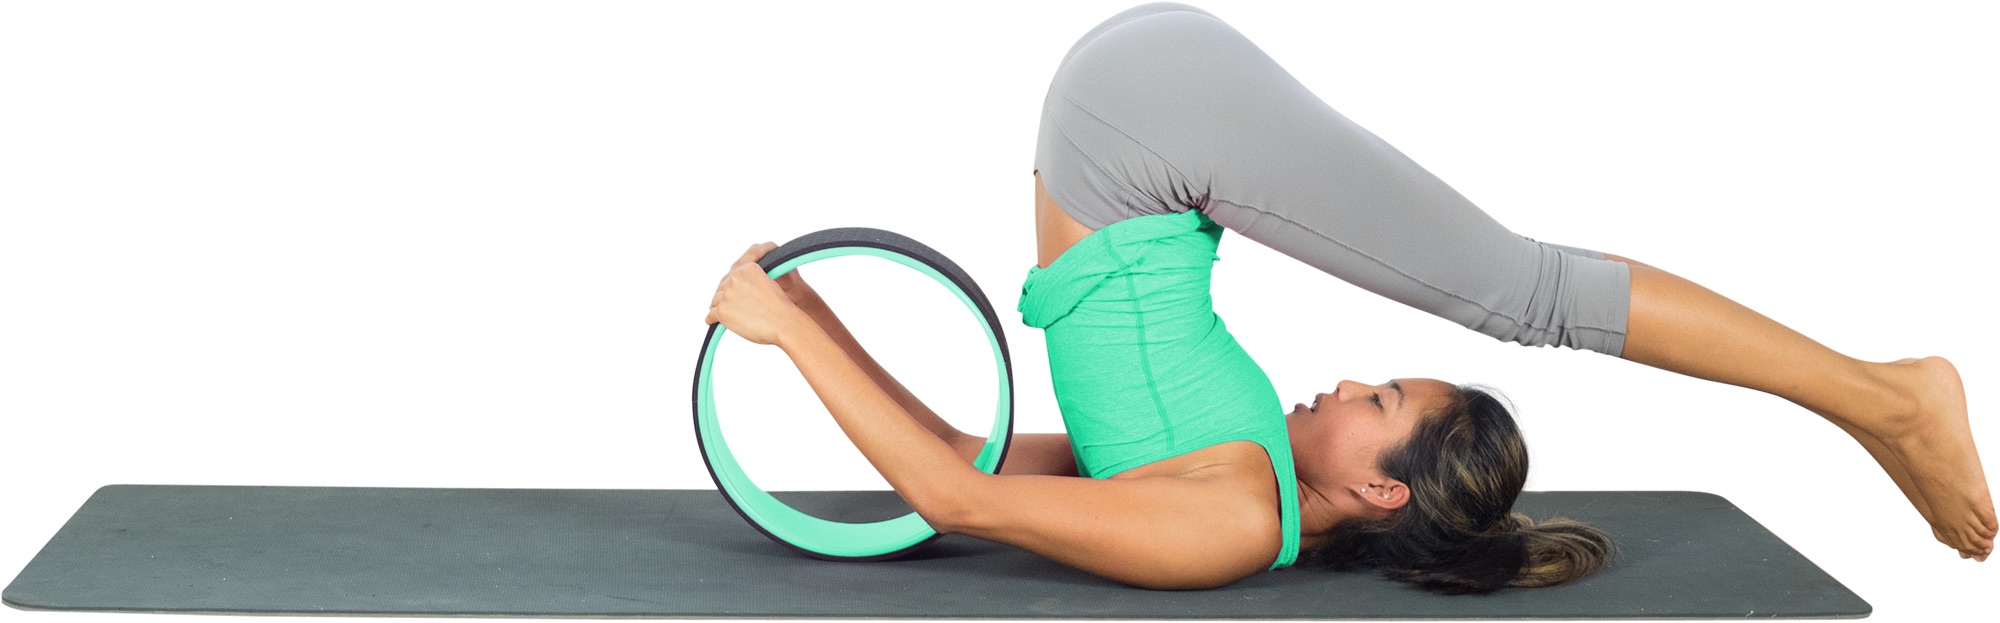
This is the Plow pose, one of our favorite yoga poses, but made even better by the addition of the yoga wheel.
The plow pose, rejuvenates and releases tension by stretching out your entire body, improving circulation and blood flow. The addition of the yoga wheel helps you obtain a deeper stretch by opening your upper back and shoulders, allowing you to stretch further while in the pose.
The Steps
- Start by lying on your back with your feet and legs in the air; position the wheel underneath your butt as you do this.
- Gently shift your hips into the air and roll the wheel further in towards your back.
- If you are able to, continue to carefully move your feet towards and above your head while holding the edges of the wheel for support.
- Hold this pose for 30 seconds.
Advanced Stretches
5) Pigeon Pose
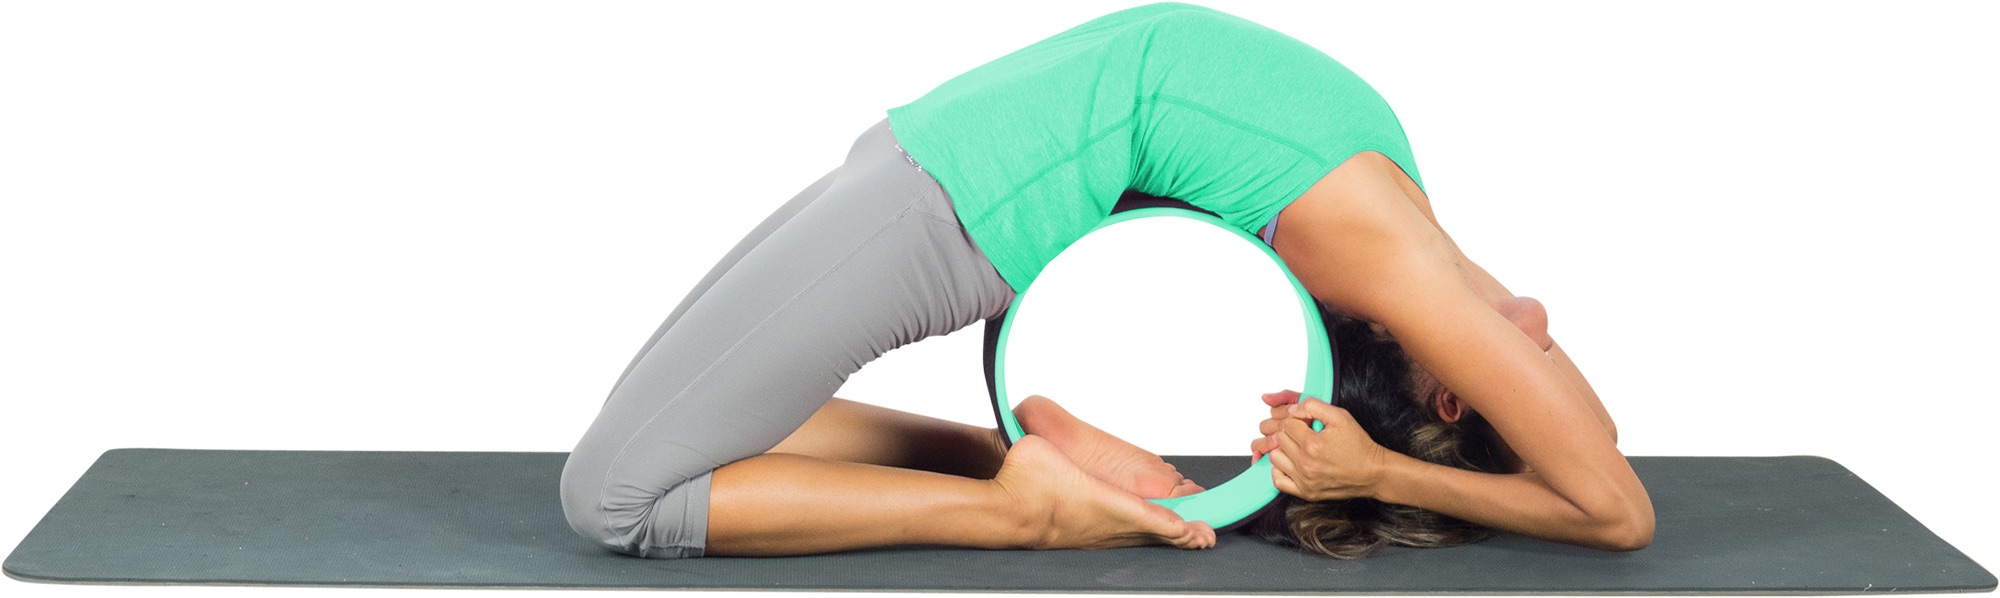
The Pigeon pose is another deep backbend done better with the assistance of the wheel.
This is a challenging and invigorating pose, that opens up the entire front of your body, stretching your chest, abs, hips and thighs. This is probably the most difficult backbend pose you can do with the yoga wheel so please do so only if you are comfortable with backbends in general. But once you master it, your back and spine will thank you!
The Steps
- Start by kneeling on the ground with the wheel between your feet.
- Mindfully lean back reaching your arms up and over your head and reach for the yoga wheel behind you.
- Grab either side of the wheel and walk your hands round it until your head comes to the floor. If you feel any pain when trying to get into this position, please do not proceed any further.
- Hold this pose for 30 seconds or until you’ve felt you had an amazing back stretch.
6) Assist in Headstand

Along with backbends, mastering a headstand is one of the sought after poses we yogis look to perfect.
However, the journey to a full headstand is not easy, partly because of the intense sense of balance you need to have in order for your body to stay upright, but upside-down. Using the wheel will give you the extra support you need to help diminish feelings of imbalance and reduce anxiety.
Headstands increase blood flow to your brain, waking us up and increasing our ability to focus. Being upside reverses the effects of gravity throughout our body. This position helps to flushes the stress hormones out of your adrenal glands, and removes toxins from your lymphatic system. All of this is happening whilst you are also building strength and balance throughout your entire body.
With the support of the wheel you can hold this pose for longer, reaping all the wonderful benefits of being inverted.
The Steps
- Start with your forearms on the floor, holding each side of the wheel in front of you.
- Place the top of your head on the ground (preferably on a mat) so the points of your elbows and your head makes the shape of a triangle.
- Pull the wheel towards you so the back of your head is resting against it. Lift your hips into the air and walk the feet towards your head.
- Grip the wheel and use your core muscles to lift your feet off the ground, while slowly making your way into a full headstand.
- Once in a headstand, breath in and out deeply, while maintaining your balance using the wheel. Try and hold this pose for 10 breaths before bringing your feet slowly back to the floor, in a controlled manner.
7) Quadriceps Stretch
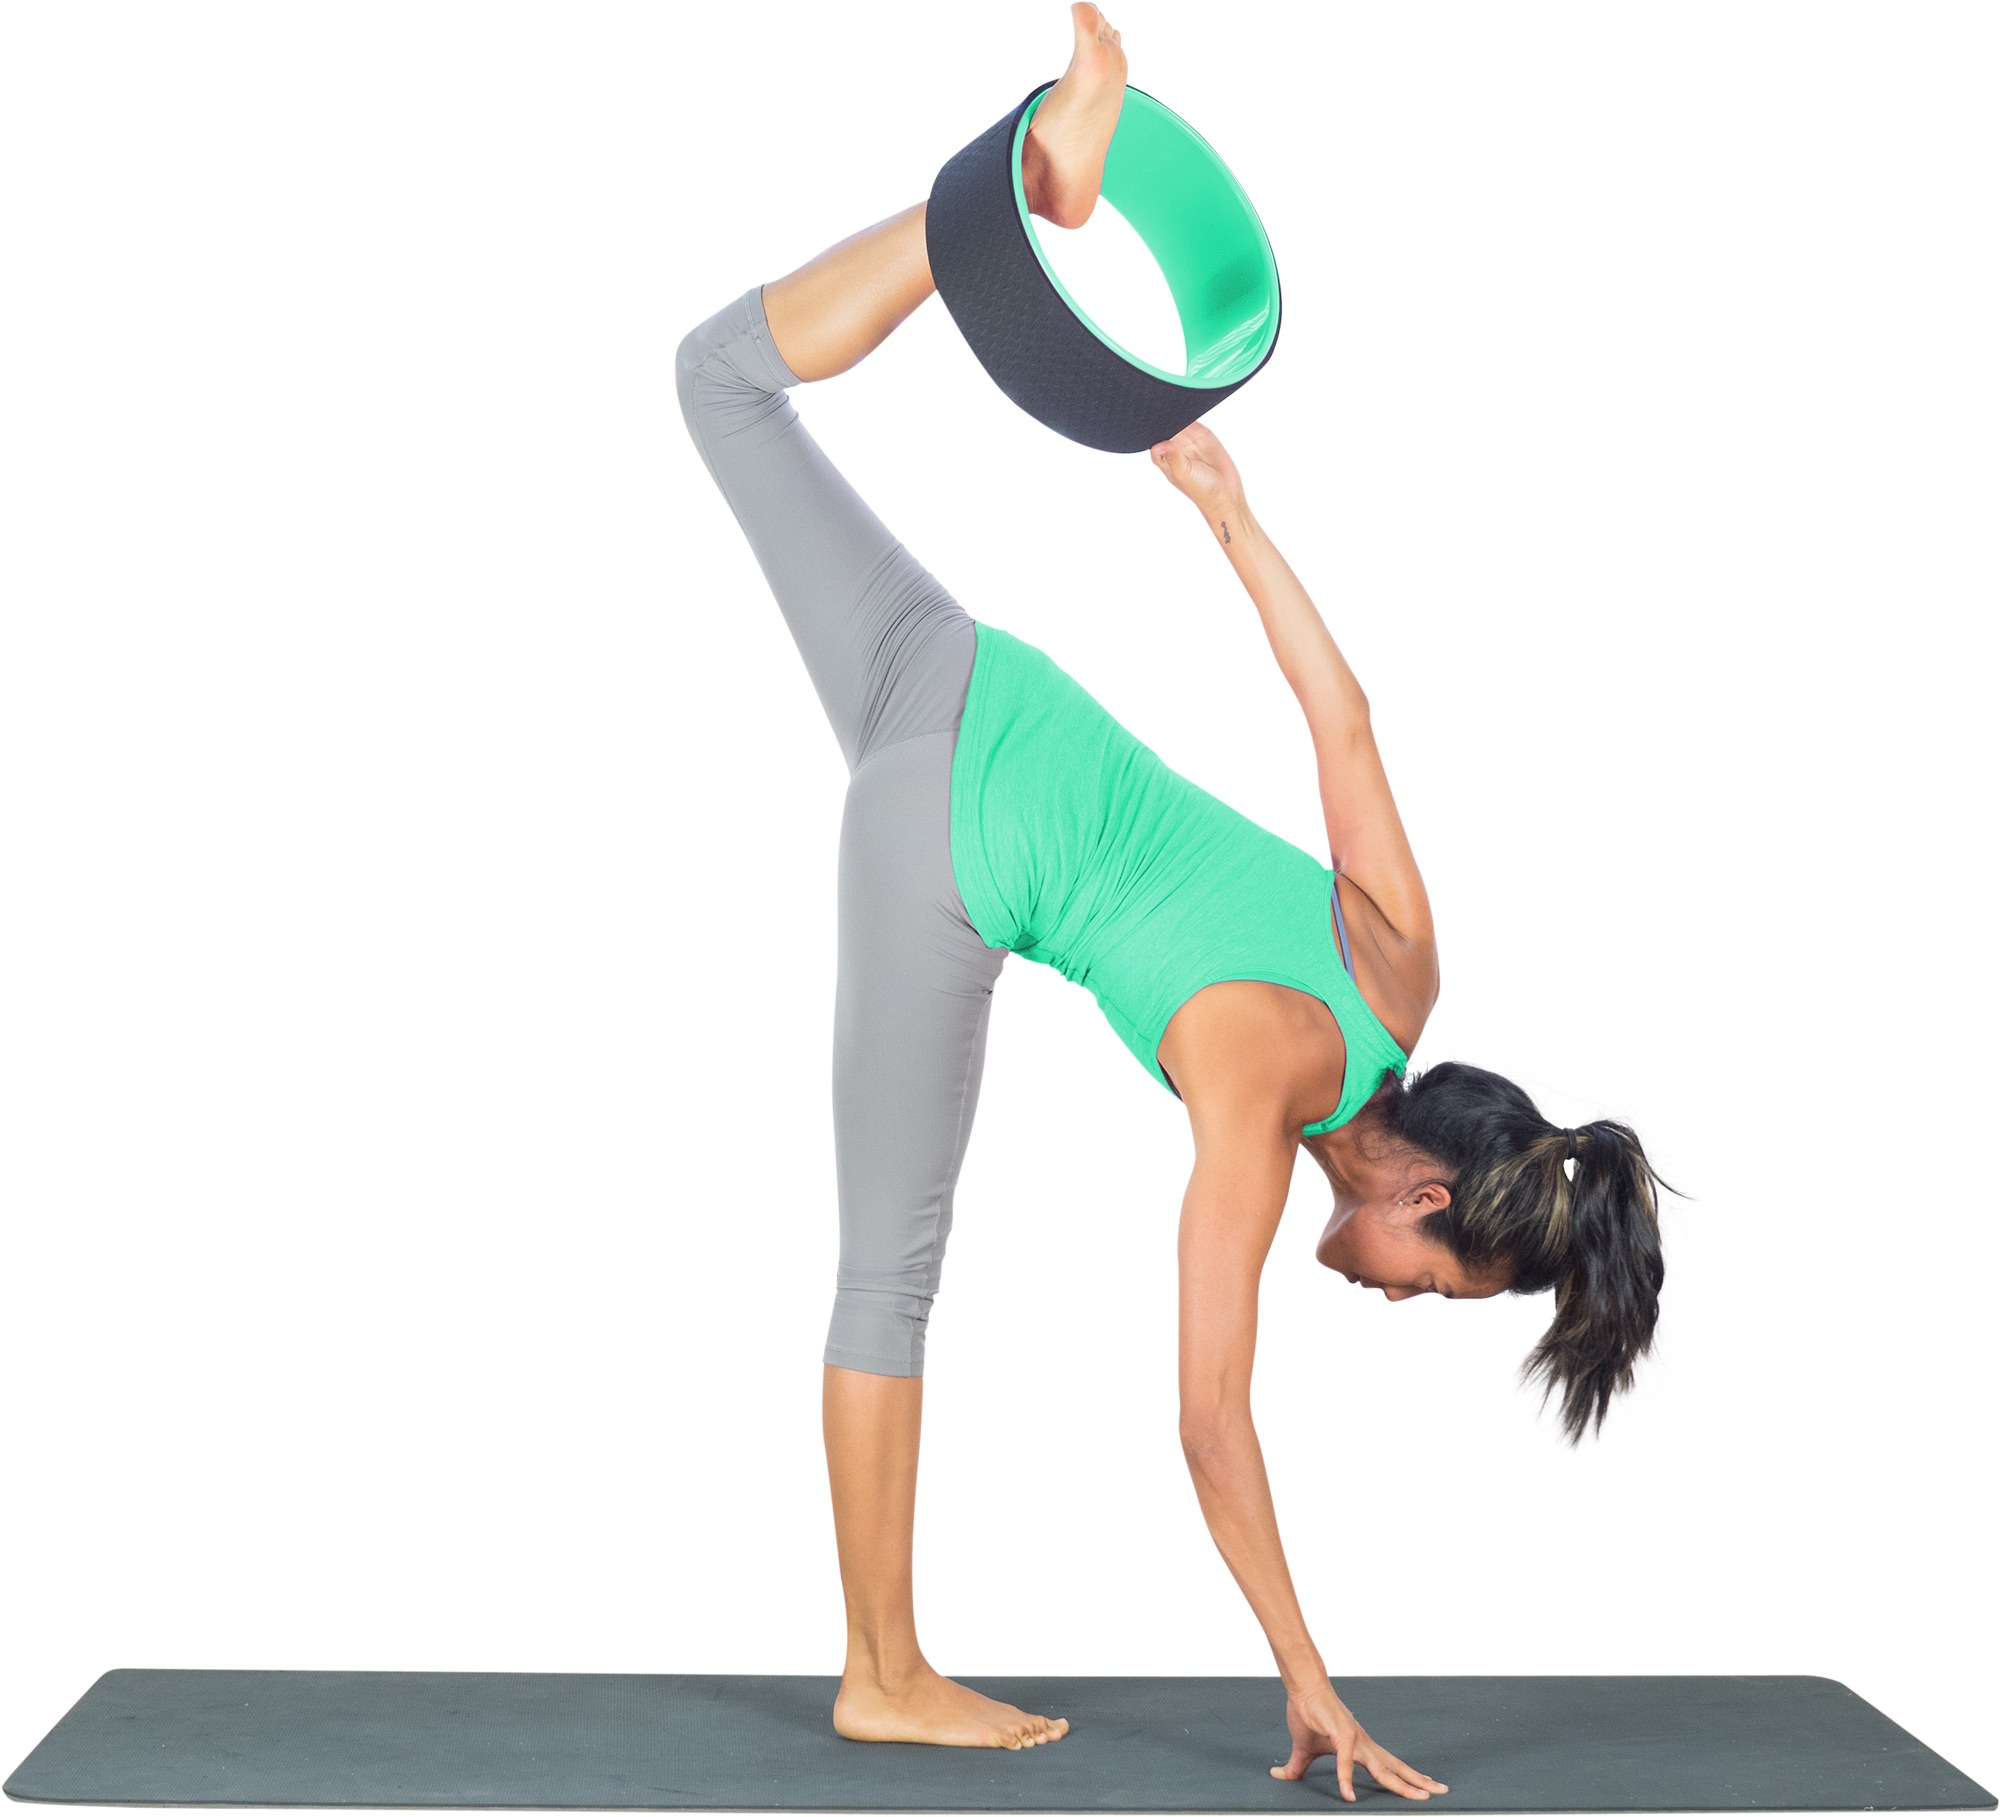
This pose is essentially a half-moon variation with the added assistance of the wheel to help us get into the bind.
This posture has it all; strengthening, stretching and balancing. The resistance between the lifted foot, the wheel and the active hand gripping the wheel, increases flexibility in the quadriceps and the hamstrings through dynamic stretching. This posture is sure to help improve your focus and balance if you include it into your daily yoga routine.
The Steps
- Start by standing with the wheel held behind you in your left hand.
- Bend your left knee and hook your foot into the wheel.
- Take your right arm out in front of you for balance, whiling pushing your left foot back to create resistance. Hinge forward at the hips to bring your right hand down to the floor.
- Keep pushing your left foot up against the wheel while simultaneously pulling it towards the floor with your left hand.
- Straighten your right leg and use that leg and your right hand to keep yourself balanced.
- Hold this pose for 30 seconds and then repeat using your other leg. Repeat as many times as you feel necessary to get a good stretch.
After trying a few of these beginner exercises, you’ll love the yoga wheel just as much as we do, if not more. Its success throughout the yoga world comes as no surprise. We can use it to assist or challenge us, to strengthen or lengthen our bodies, or to improve balance and support. It’s simplicity and diversity make it the perfect prop for all these poses.
We have given you a few ideas here, but to get the most out of your yoga wheel, be creative – improve on each form and use it specifically for your needs. But most importantly, enjoy it, fall over a few times, laugh at yourself. The yoga wheel can be challenging, but challenges will always help us to grow, both on and off the mat – or in this case, the yoga wheel.
Loved the article and would like to get a yoga wheel? Then visit our store and get your UpCircleSeven Yoga Wheel today!
Learn more about the yoga wheel by reading this blog favorite: Top 7 Benefits Yoga Wheel Benefits.